Get the film look you’ve always wanted with Dehancer for Premiere Pro. Enhance your video editing with realistic film emulation.
Dehancer reached out and offered a free license to test their film emulation plugin. They didn’t pay a dime for this review, so rest assured, what you’re about to read, hear, and see is an honest opinion and experience with Dehancer.
What Is Dehancer?
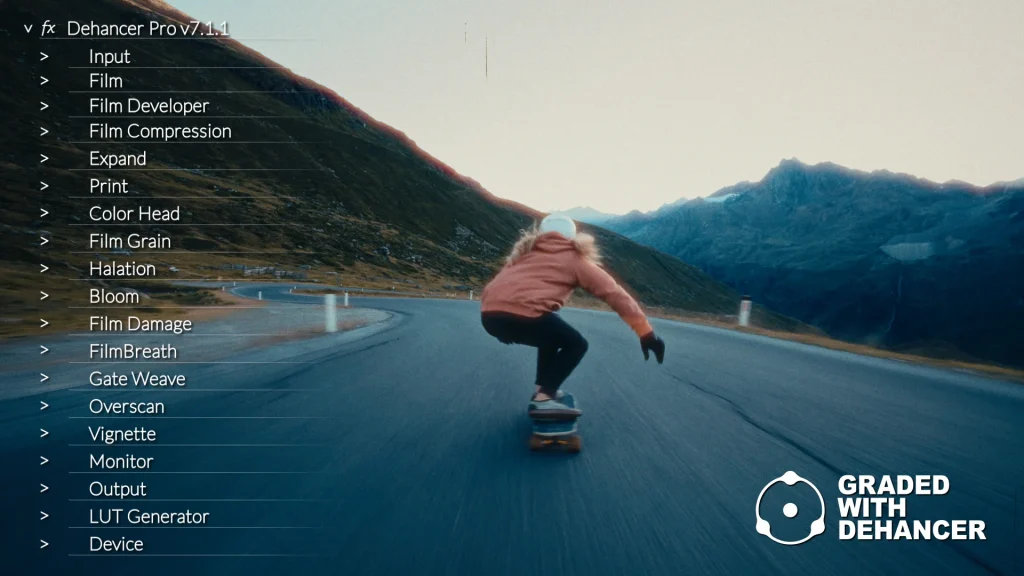
Dehancer is a plugin designed to bring the magic of analog film to your digital projects. It’s packed with features that mimic the look and feel of classic film stocks, complete with grain, halation, bloom, and other effects that make your footage look like it was shot on vintage film.
It works with Premiere Pro, After Effects, DaVinci Resolve, Final Cut Pro, and many other video and photo editing programs.
Get 10% OFF by using our exclusive promo code: EDITINGCORP
Dehancer is also available on iOS, so if you are an iPhone or iPad user, you can bring the same high-quality film emulation features to your mobile editing workflow.
Dehancer Settings & Options

Once you download, install, and apply the plugin to your clip, you’ll notice it is divided into several options.
I use the halation, bloom, and film damage effects 90% of the time because I love the dreamy look they create.
Different projects require different settings, so here is a quick look at what each option does.
Input
First, we have the Input setting. It gives you the option to select the color space of your source clip.
If your footage has normal contrast, then simply select Rec. 709. However, if you shoot in LOG, you can either de-log the footage manually with a Log to Rec. 709 LUT or you can choose a camera profile from the range of high-quality custom camera profiles available.
Film Profile
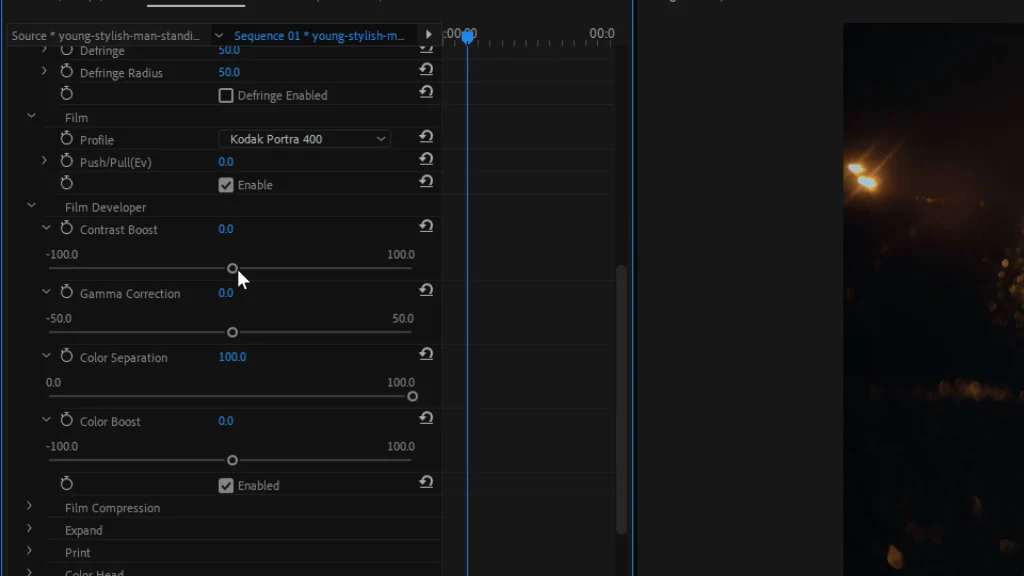
Next, we have the Film Profile setting. Here, you’ll find a variety of film stock emulations, each mimicking the unique characteristics and color profiles of different types of classic analog films.
You can scroll through and try different film profiles until you find one you like. The push/pull option can be used to adjust the film exposure.
Film Developer
Moving on, the Film Developer setting is quite interesting. This setting helps recreate the unique look that the film gets from different development methods.
In real life, the choice of chemicals and development time can change the appearance of the film. By adjusting this setting, you can make your digital footage look like it was developed with different techniques.
You can make the dark areas darker and the light areas lighter, and change how the colors look, making them more vivid.
Film Compression
Enabling the Film Compression setting reduces the harshness of very bright parts, making your footage look more like it was shot on film, which naturally compresses the highlights.
Expand
By adjusting the Expand setting, you can bring back some of the depth and richness to the image. The dark areas will look properly dark (but still detailed), and the bright areas will be bright, giving the footage a more natural and dynamic appearance.
Different types of photo paper or printing techniques can change the way colors and contrasts appear. This is where the Print setting comes into play.
It simulates the effect of printing your film onto different types of paper or using different printing processes, giving your footage that traditional film look. There are multiple profiles to choose from:
- Linear
- Cineon Film Log
- Fujifilm 3513 Print Film
- Kodak 2383 Pint Film
- Kodak Endura Glossy Paper
Grain/Halation/Bloom/Vignette
Grain mimics the natural grain structure of the film, while Halation and Bloom create that soft, glowing effect often seen in vintage films. Lastly, Vignette adds a subtle darkening around the edges, drawing the viewer’s focus to the center of the frame.
There is no one-size-fits-all setting, so feel free to tweak the individual settings to suit your creative vision.
Film Breath & Gate Weave
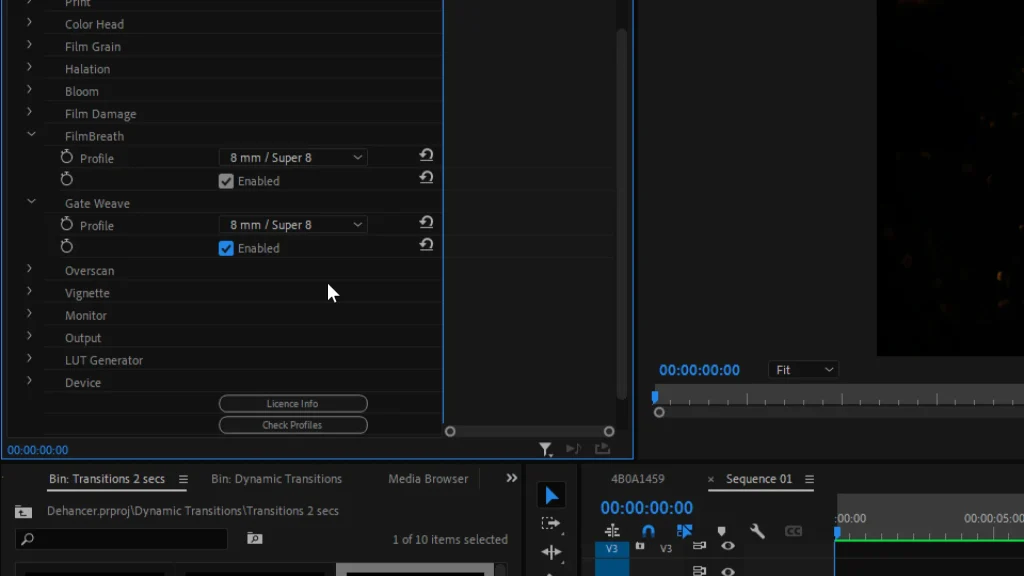
If you watch an old movie, you’ll notice that the brightness and colors aren’t completely steady. There are slight, almost unnoticeable shifts that give the film a lively, breathing quality.
By using the FilmBreath setting, you can add this effect to your digital footage, making it look like it’s being projected from a real film reel, with all the charming imperfections that come with it.
Additionally, you’ll notice that old movies are slightly shaky. This is because the film strip is moving through the projector. By using the Gate Weave setting, you can add this effect to your digital footage, making it feel more like a real, vintage film projection.
Both the FilmBreath and Gate Weave settings have four different profiles to choose from. The smaller the profile, the greater its intensity.
Monitor
Then there’s a Monitor option which helps keep the exposure levels in check. Overexposed areas will be filled with red while underexposed with blue. 
Output
Lastly, the Output setting gives you a single slider control to increase or decrease the overall impact of the Dehancer plugin on your footage. 
Is Dehancer Worth It?
Overall, I find Dehancer to be an impressive plugin, especially for those who are passionate about recreating film looks. The variety of settings and the level of control it offers are outstanding.
However, I must admit that I don’t use all its features and often find myself sticking to the Halation and Bloom effects, which are my personal favorites.
For those who have a deep interest in film emulation and want to explore the full range of Dehancer’s capabilities, this plugin is a game-changer. But if you’re like me and prefer a simpler approach, you might not use every feature it offers.
Nonetheless, even the limited features I use have made a significant difference in my projects, and I highly recommend giving Dehancer a try.
Also, check-out:
- 50 Best Premiere Pro Plugins (PDF Included)
- 5 Best Premiere Pro Plugins For Removing Green Screens
- 5 Premiere Pro Plugins To Remove Flicker From Videos
- 5 Best Automatic Video Editing Plugins For Premiere Pro


