


A list of 10 best Skin Retouching tips that you need to know to produce smooth skin for photos, media creation, and graphic design.
In this digital age, it’s essential to realize less is always more in skin retouching, and the days of overly smoothed skin, animated eyes, and reshaped features are over.
Low-resolution photos are hard to edit, and the output is barely natural. To avoid going overboard, editing should be done with caution.
Additionally, subtle changes in the skin require advanced skin retouching software. Skin retouching gets better when you stick to some golden tips.
For an edited photo to be credible, it’s crucial to retouch them according to the rule book.
This blog post will explore some tips on achieving beautiful skin for Photography, Media Creation, and Graphic design straight from the rule book. Before diving into the retouching phase with software, here are the 10 best tips you need to master.
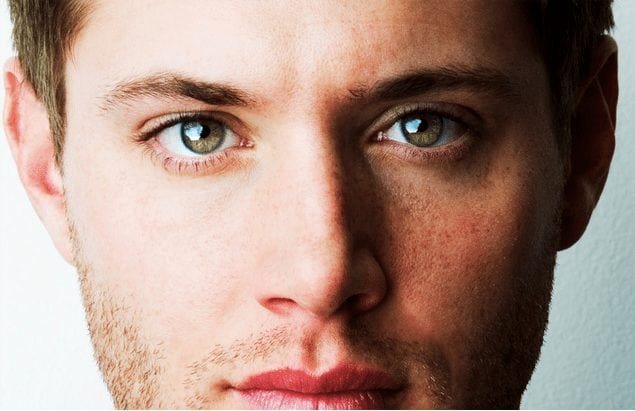
1. Remove The Minor Imperfections


Stray hairs covering the face and extreme eye bags are two distraction elements of a photo. You need to uphold your brand identity with the pictures.
Unless you are removing the minor details from the skin, you can’t highlight the significant part of the photography.
Using the airbrushing feature of AI-powered tools, you can neutralize the scars, pimples, and wrinkles. However, refrain from exaggerating it. You still need to retain the characteristic features of the person like moles, dimples, beauty spots, etc.
2. Avoid Painting Over Blemishes

When using the airbrush or spot healing tool, you should simply bypass painting over blemishes. The smoothed area will become incongruous with the rest of the skin texture.
This is not something appreciated when you are building media for your business. You need to keep it natural for a realistic-looking subject. In general, skin retouching is done to make photos appear attractive, and the goal can’t be achieved if the results seem phony.
3. Go Easy On Frequency Separation


Pictures edited via Photoshop with the frequency separation technique can be used to fix the skin’s tone. You can easily turn someone’s appearance appealing, complexion clearer, and reduce oil to get that spot-on look with this feature.
Unfortunately, photos edited with the technique may look so flawless that they take on a plastic appearance, mainly when applied over a large area.
You might want to dial it up a bit if you are using Photoshop. However, we recommend using skin retouching software that edits skin based on color, ethnicity, age, and body part to preserve the natural skin texture.
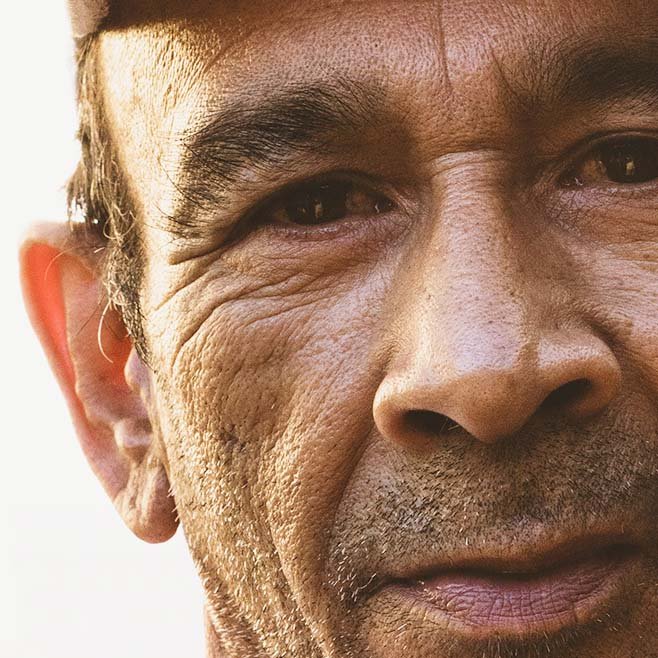
4. Remove Unwanted Shades from the Skin
When performing skin retouching, always remember that the tone of brown skin should be a beige color.
After retouching the skin, eliminate the red or yellow shades from the skin. Because most digital tools tend to over-saturate some colors and emphasize the red hues of the skin.
After uploading the pictures or videos on the internet, they’ll look far from natural. So you’ll want to correct the tonality before transforming the photos into a marketing product.
5. Be Gentle With The Under-eye Area


Editing eyes is potentially one of the crucial aspects to refrain from if you want to achieve natural skin, as it can easily take the character out of a photo. Adjusting the skin color around the eye requires several practice sessions, especially if dealing with a color you are not familiar with.
We suggest subtle editing in those areas to carefully yank the undesirable bags, lines, or makeup creases to make the eyes look expressive. However, don’t go overboard with it. You are all set if you’ve achieved skin that appears natural and healthy.
6. Keep The Effects On The Eyes/Iris At A Minimum

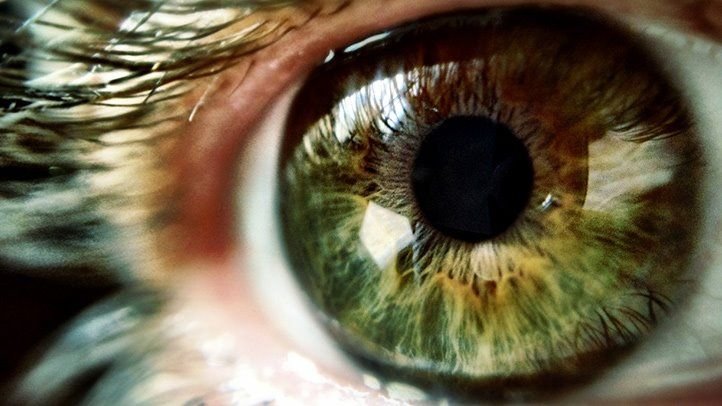
This is something novices do at the beginning of their editing journey. They go heavy-handed with the iris and sclera.
Over-saturation with too much color may make the eyes utopian or doll-like. If you are selling stuff online or making videos for your content, this is something you might want to watch out for.
You should have the liberty to retouch these areas, maybe even add saturation to bring out the colors. However, remember to be light-handed and keep it minimal.
7. Keep Skin Color Correction And Tones In Mind
Ensuring the skin has a natural color is one of the pivotal points to achieving professional yet breath-taking images. Color correction is the holy grail, from clubhouse profile pictures to stunning videos.
You probably know that color correction is a technique to conceal the skin’s imperfections through colorful hues. Using Photoshop, you can adjust the colors and tones impeccably through adjustment layers.
Yet, we recommend using automated skin retouching software for glamorizing the pictures as color correction is a lengthy process and will require hours in front of the computer.
8. Don’t Recast all the Shadows and Highlights in the Image

We all go through that phase where there’s an invincible temptation to smooth out every little shadow and highlight from the photos– especially when they look mildly distracting or unflattering.
Regardless, it’s something editors might want to avoid. Why? Because it can give a bizarre appearance to the skin, almost like it’s two-dimensional.
This is why the in-house experts recommend perfecting the shadow and highlight settings in the camera before the photography stage. Otherwise, it becomes formidable to perfect them in the post-production stage
9. Don’t Forget To Add Volume

This hack is all you need to generate natural and radiant skin in the photos. The added volume effect can reduce skin pores, emphasize the features of specific areas, etc.
Still, the skin, you don’t want to go extra with the effect. Otherwise, it will lead to unflattering spots on the skin.
10. Change The Background Color

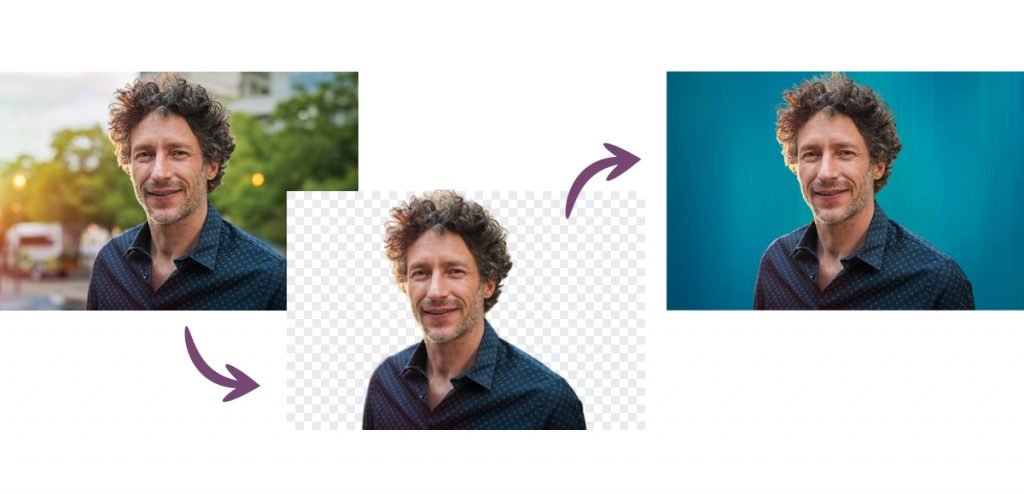
This may sound weird, but sometimes you need to tweak the backdrops to bring more focus to the skin. It’s difficult if you are doing it manually, but the adequately picked color can emphasize the skin.
So we recommend going crazy with background colors. Also, did you know there is automated retouching software to customize backdrop colors in seconds?
Bottom Line
Now that you’ve learned the tips of skin retouching, you are on your way to producing smooth skin for photos. If you want to get the best deal for your time and budget, use skin retouching tools to make things smoother.
Once again, remember that less is always more in the bars of skin retouching.